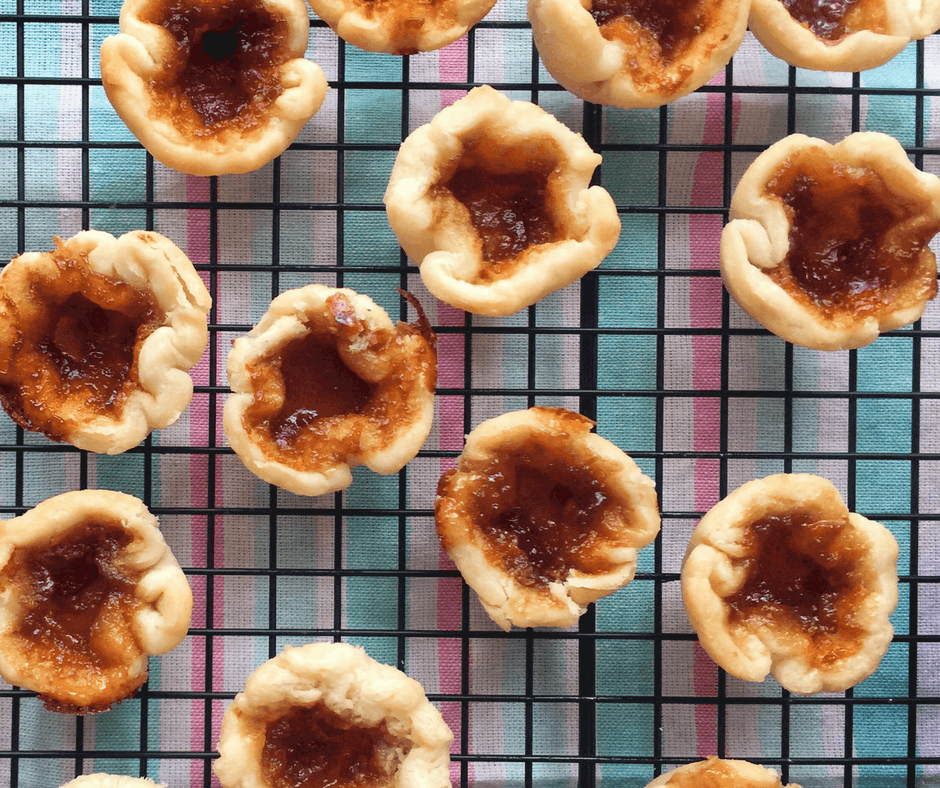
If you’re looking for a FODMAP friendly dessert, have I got a treat for you. Here in Canada, butter tarts are kind of a thing. So, when I started making my own recipes, I was committed to finding the secret of low FODMAP butter tarts. It took a ridiculous number of tries, but I definitely cracked the code.

My experience with gluten-free pastries has been a little sketchy. So, let me take a minute to assure you that no one will guess these butter tarts are low FODMAP. They have a light, flaky crust and clean, rich tasting filling. Trust me, these little Canadian pastries are going to wow your crowd.
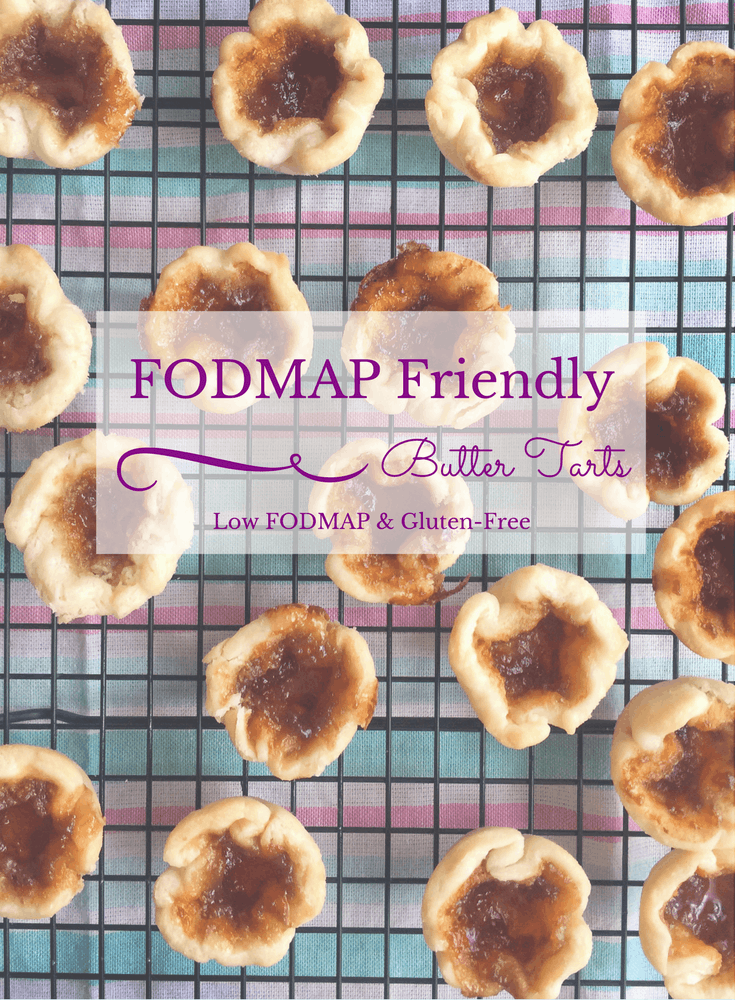
Think these low FODMAP butter tarts sound great, but you don’t have time to try them now? You can PIN THIS POST for later.
Keep It FODMAP Friendly
Part of the charm of these low FODMAP butter tarts is that they’re made with a few simple ingredients. The real magic is in the technique. Check out the notes below for tips on keeping this recipe FODMAP friendly.
First, if you’re in the elimination phase, you’ll need to use gluten-free flour. For my Canadian peeps, I’ve had the best luck with PC gluten-free flour. I like it because it’s fine enough for pastry and doesn’t have any gums.
Remember, unless you have celiac disease, you’re avoiding the FODMAP fructan, not the gluten itself.
This recipe also uses butter. Even though butter is a dairy product, it doesn’t have any lactose (because it’s all fat). This means you won’t need to use a lactose-free product.
Finally, since corn syrup isn’t listed in the Monash app, we’ll swap it for homemade low FODMAP cane sugar. You can grab my recipe here.

Whose Side Are You On?
You didn’t hear this from me, but warm butter tarts are amazing with a dollop of fresh whipped cream. According to the Monash app, 1/2 a cup of whipped cream is low FODMAP. So you’ll be fine throwing a spoonful on your butter tarts.
Want to try these low FODMAP butter tarts? Don’t forget to PIN THIS RECIPE for later.

These amazing low FODMAP butter tarts will melt in your mouth! With a sweet and clean taste, this dessert will delight your taste buds without distressing your tummy. Enjoy!
- 1.5 cup gluten-free flour
- 1/4 tsp salt
- 1/4 cup butter (cold & cubed)
- 1/4 cup lard (cubed)
- 1 egg yolk
- 1 tsp vinegar
- ice water
- 3/4 cup brown sugar (packed)
- 1/4 cup cane sugar syrup
- 1 egg
- 2 tbsp butter (room temp)
- 1 tsp vanilla
- 1 tsp vinegar
- pinch salt
-
Whisk together flour and salt in a large bowl. Cut in butter and lard in small batches until it forms coarse crumbs (they should range from the size of coffee grounds to the tip of your pinky).
-
In a measuring cup, whisk the egg yolk and vinegar together. Add ice water until the mixture reaches 1/3 cup altogether. Then sprinkle the egg water over your flour mixture with your fingers while you mix it together with your hands. The trick is to go as quickly as possible so the butter stays cold. Keep sprinkling and mixing until the pastry begins to hold together (this should take almost all of your egg mixture).
-
Press the dough into a disc shape at the bottom of the mixing bowl, cover with plastic wrap and refrigerate for 2 hours. * This is a good time to take out 2 tbsp of butter so it is thawed for the next step.
-
Preheat your oven to 450 degrees, then whisk together the brown sugar, cane sugar syrup, egg, butter, vanilla, vinegar, and salt in a medium bowl until blended. Place in a piping bag and set aside.
-
Tape a large piece of parchment paper onto your counter. Lightly dust with gluten-free flour. Remove your dough from the refrigerator and divide it in half. Place one half back in the fridge and the other on the floured surface.
The dough will be sticky, so you need to be careful as you roll out to 1/8 inches. If you make a minor rip, take a piece off of the edge of the dough and patch it.
-
Once you have rolled out the dough, cut out 12 crusts using a 4″ cookie cutter (you may need to re-roll your scraps for a few extra crusts). Make sure you cut cleanly through the dough for easy removal. Place each crust into the well of a lightly greased muffin tray and lightly pierce the bottom of each crust with a fork to prevent the pastry from puffing. Then place the tray in the refrigerator and take out the reserved portion of the dough and repeat. Recipe yields 24 crusts in total.
-
Pipe the filling into each crust between 1/2 and 3/4 full (don’t overfill them or the filling will bubble over and congeal on your muffin tray instead of in your butter tart). Bake each tray individually for 12 minutes (until the filling is bubbly and the crust is golden brown).
-
Place the entire muffin tray on a wire rack to cool for one minute, then edge a knife around each tart to loosen the edges. Remove each tart to the wire rack to cool completely (about 30 minutes)
The trick to an amazing butter tart crust is to keep the dough as cold as possible. This means touching it as little as possible with your fingers, working with the dough in smaller batches, and keeping it in the fridge when it is not in use (even if it is just for a moment). Since I like mixing the dough with my hands, I usually run them under some cold water and dry them thoroughly before I work with the dough.
You might also like one of these:
- Low FODMAP Cardamom Buns With a light, fluffy texture and a buttery cardamom flavour, no one will guess they’re low FODMAP!
- Low FODMAP Raspberry White Chocolate Muffins Brace your taste buds for a serious morning treat! These easy low FODMAP raspberry white chocolate muffins are worth waking up for!
- Low FODMAP Maple Whisky Fudge Have a sweet tooth that can’t be tamed? With a rich, silky texture and a deep, bold flavour, this low FODMAP maple whisky fudge is so good you’ll forget it’s low FODMAP!
If you like this post, don’t forget to share it! Together we’ll get the low FODMAP diet down to a science!

