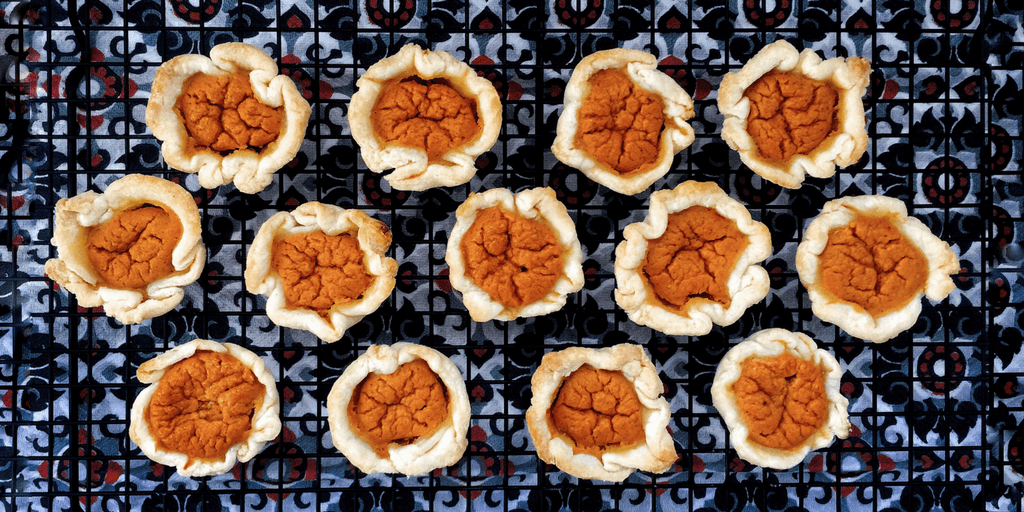
Think following the Low FODMAP Diet means you’ll miss out on the flavours of the season? Fear not, my friend. These low FODMAP pumpkin tarts are the perfect way to add a pop of pumpkin spice to your fall.

These adorable little tarts use real pumpkin pie filling. But, because they’re so small, they cook in half the time of a traditional pie. This makes them a great seasonal snack as well as a tasty fall-inspired dessert.
I know gluten-free pastry can make some people squeamish. So, let me take a second to reassure you this gluten-free pie crust is light, flaky, and ridiculously delicious. Trust me, no one will guess these tarts low FODMAP.
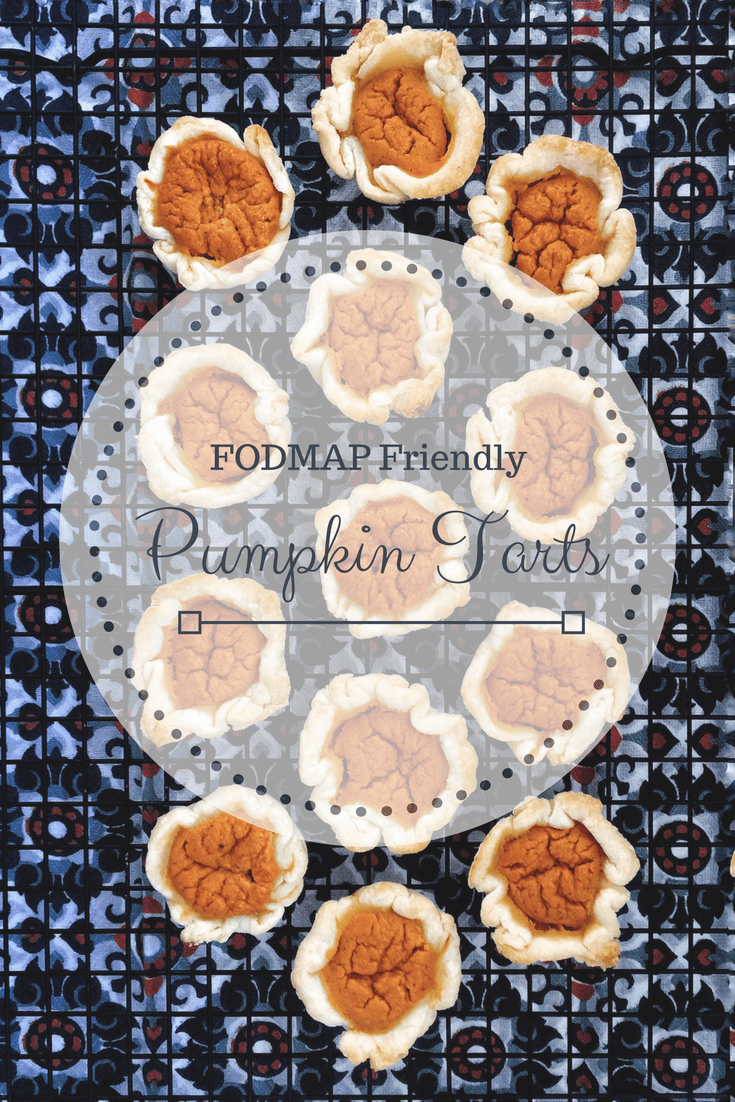
Think these low FODMAP pumpkin tarts sound great, but you don’t have time to try them now? You can PIN THIS POST for later.
Keep It FODMAP Friendly
These adorable pumpkin tarts are easy to keep low FODMAP. Check out the notes below for tips to keep this recipe FODMAP friendly.
First, if you’re in the elimination phase, you’ll need to use gluten-free flour. For my Canadian peeps, I use PC’s gluten-free all-purpose flour. It’s fine enough for pastry and it doesn’t have any gums.
Remember, unless you have celiac disease, you’re avoiding the FODMAP fructan, not the gluten itself.
Next up is our filling. According to Monash University, canned pumpkin is safe in servings of 1/4 cup per sitting. This recipe uses two cups of pumpkin, which works out to 1.3 tbsp per tart. This is within the recommended serving size.
Canned pumpkin is high in both Fructans (FOS) and Galactooligosaccharides (GOS) in servings of 1/2 a cup or more. So, stick to a maximum of 4 tarts per sitting.
Finally, this recipe also uses evaporated milk. I haven’t found a lactose-free product yet, so I normally pour the can into an airtight container with some lactase drops. 24-hours later, you have lactose-free evaporated milk.

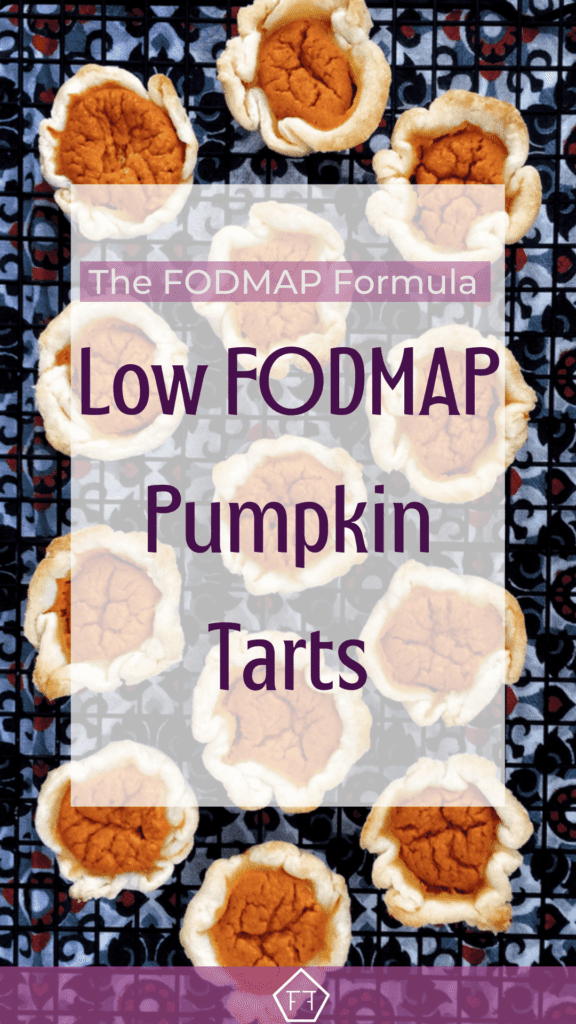
Want to try these low FODMAP pumpkin tarts? Don’t forget to PIN THIS RECIPE for later.

Want to add a little pumpkin spice to your fall? Try these low FODMAP pumpkin tarts. These dainty little pumpkin pies nestled in a flaky pie crust will warm up your insides.
- 1.5 cup gluten-free flour
- 1/4 tsp salt
- 1/4 cup butter (cold and cubed)
- 1/4 cup lard (cubed)
- 1 egg yolk
- 1 tsp vinegar
- ice water
- 3/4 cup sugar
- 1 tsp ground cinnamon
- 1/2 tsp salt
- 1/2 tsp ground ginger
- 1/4 tsp ground nutmeg
- 2 large eggs
- 1 can pumpkin
- 1 can evaporated milk (treated with lactase drops)
-
Whisk together flour and salt in a large bowl. Cut in butter and lard in small batches until it forms coarse crumbs (they should range from the size of coffee grounds to the tip of your pinky).
-
In a measuring cup, whisk the egg yolk and vinegar together. Add ice water until the mixture reaches 1/3 cup altogether. Then sprinkle the egg water over your flour mixture with your fingers while you mix it together with your hands. The trick is to go as quickly as possible so the butter stays cold. Keep sprinkling and mixing until the pastry begins to hold together (this should take almost all of your egg mixture).
-
Press the dough into a disc shape at the bottom of the mixing bowl, cover with plastic wrap and refrigerate for 2 hours. * This is a good time to take out 2 tbsp of butter so it is thawed for the next step.
-
Tape a large piece of parchment paper onto your counter. Lightly dust with gluten-free flour. Remove your dough from the refrigerator and divide it in half. Place one half back in the fridge and the other on the floured surface.
The dough will be sticky, so you need to be careful as you roll out to 1/8 inches. If you make a minor rip, take a piece off of the edge of the dough and patch it.
-
Once you have rolled out the dough, cut out 12 crusts using a 4″ cookie cutter (you may need to re-roll your scraps for a few extra crusts). Make sure you cut cleanly through the dough for easy removal. Place each crust into the well of a lightly greased muffin tray and lightly pierce the bottom of each crust with a fork to prevent the pastry from puffing. Then place the tray in the refrigerator and take out the reserved portion of the dough and repeat. Recipe yields 24 crusts in total.
-
Preheat the oven to 350 degrees. In a large bowl, mix all of the filling ingredients (except the evaporated milk). Once the ingredients have been combined, add the evaporated milk to the mixture in small amounts, stirring in between.
-
Fill each tart crust 3/4 full and bake, one tray at a time, for 25-30 minutes, or until a toothpick inserted into the middle of the tart comes out clean. Cool on a wire rack for 1 to 1.5 hours to allow the filling to set. Serve warm or cold.
The filling may rise above the tart crust while baking. Don’t panic! It will go back down again once it has had time to cool.
You might also like one of these:
- Low FODMAP Butter Tarts Ready to tackle a classic Canadian treat? With a sweet and clean taste, butter tarts will delight your taste buds without distressing your tummy. Enjoy!
- Low FODMAP Cinnamon Buns Need a little magic in your life? These light and fluffy cinnamon buns are so delicious, no one will know they’re low FODMAP!
- Low FODMAP Pumpkin Cheesecake If you’ve got a hankering for a sweet pumpkin treat? With a creamy texture and a rich, savoury taste, this low FODMAP pumpkin cheesecake is the perfect fall-inspired dessert.
If you like this post, don’t forget to share it! Together we’ll get the low FODMAP diet down to a science!


